Create Swift Dashboard
Login to Swift App Design Studio
Using your Swift admin account, access the App Design Studio:

Applications Control Interface
Select the Application tab from the sidebar. Click the particular application you want to create the new Find/Browse Form for. This will open up the App Designer

Dashboard Designer
There will be a head called Dashboard Designer when the application you chose opens.
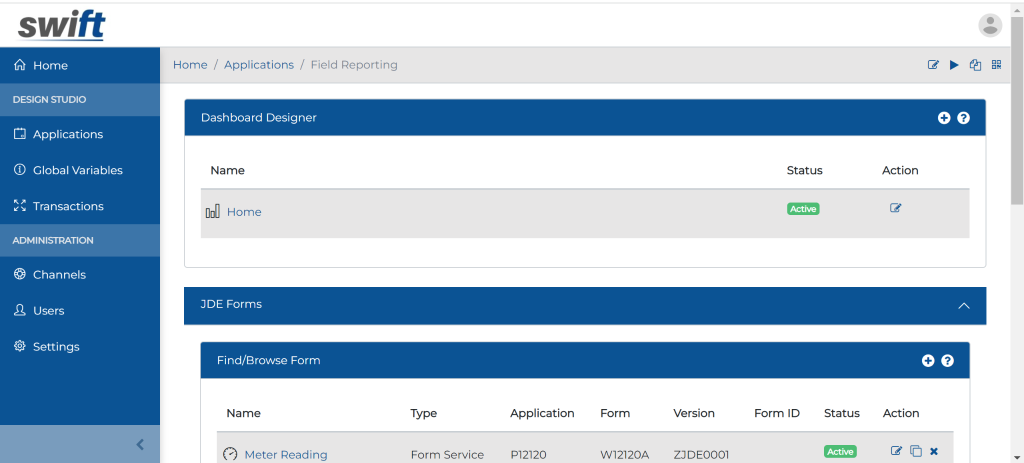
Create New Dashboard
Click the
button on the right to create a new Dashboard. Then, Enter the Name.
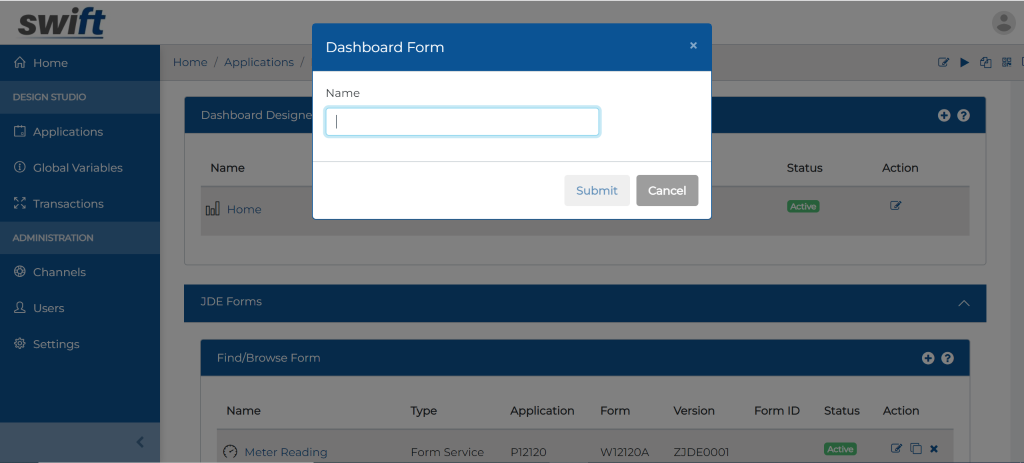
Click on the newly created Dashboard Title to configure it.
Dashboard widgets
Three different widgets are available for configuration to be shown in the end-user app.
- KPI Widget: Its for JD Edwards-related analytics
- External Reports: It’s for 3rd party related analytics data, like Power BI, Tableau, etc.
- Custom Components: It’s for adding your custom code-based widgets in the Swift Dashboard.
KPI Widget
Users can use the static option to create multiple dashboard tiles that, when clicked, instantly take them to the specified feature that is already linked.
KPI widget can now be customized more by users. Users may add icons, pick a color scheme, change the typeface, and more.

Just navigate to the app designer studio, select the dashboard editing option for the app you like to modify, choose the widget option, and then configure it to your preference.

External Reports Widget
Drag and drop the External Reports widget and press the configuration button.
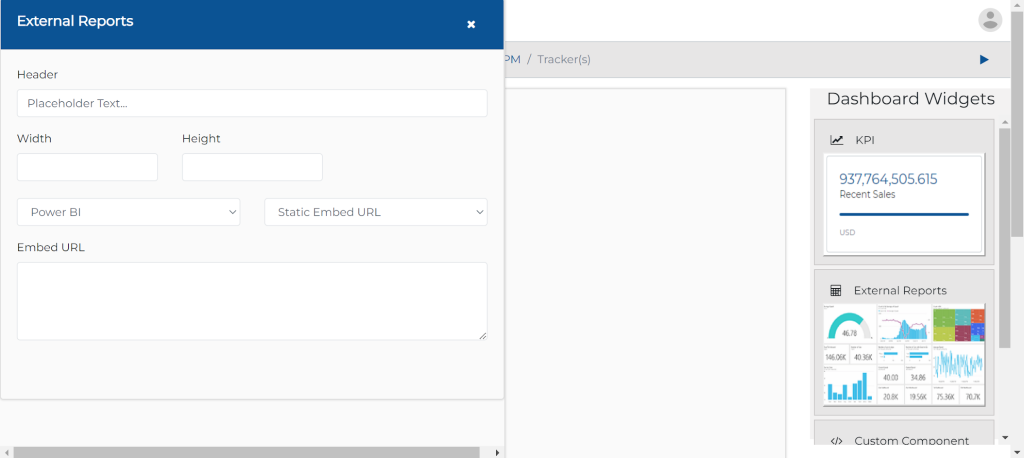
- Type the name, you want your 3rd party report widget to be recognized within the End-User Swift app, in the Header field.
- Fill in the width, height, and the required information from the dropdown.
- Copy and paste the embed code provided by the 3rd party analytics software
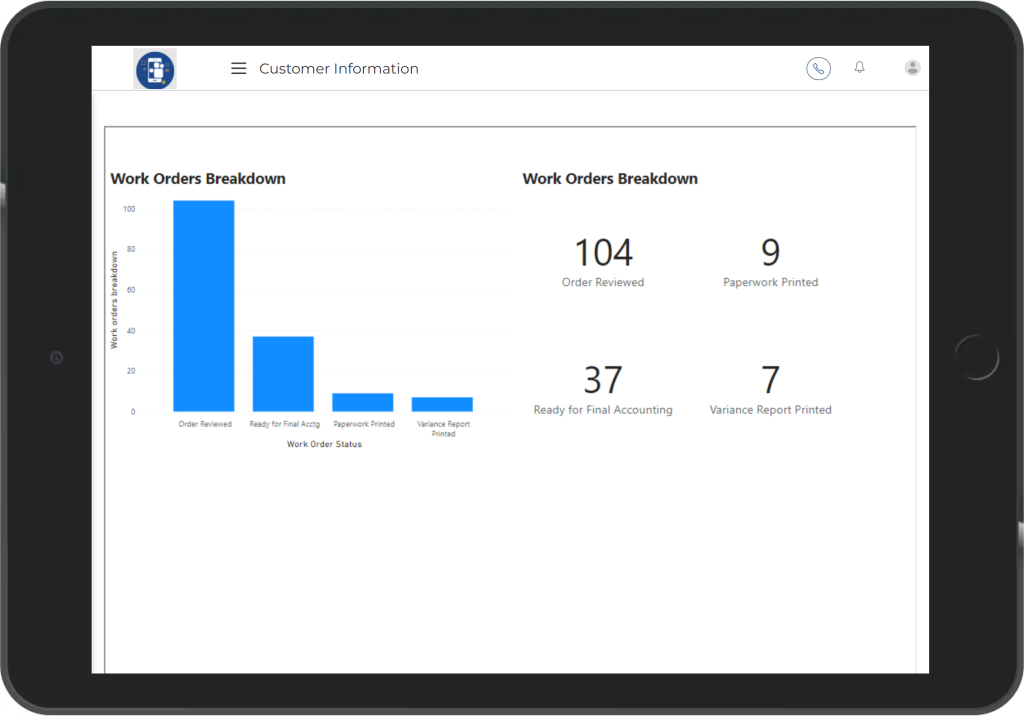
Report Viewer:
Now click on the play button on the right side of the screen. Login into the app and the home page will appear like this
Custom Component
Drag and drop the Custom Component widget and press the configuration button.
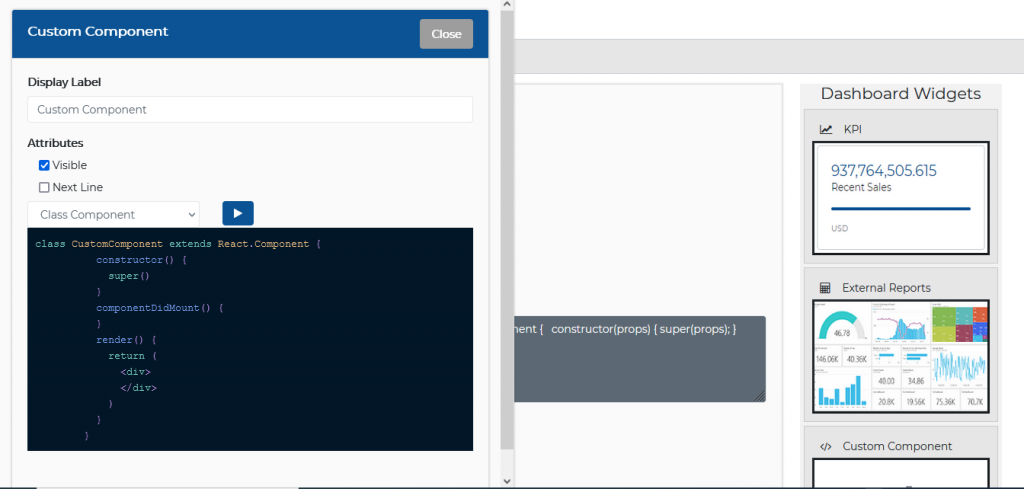
- Enter the Title in the ‘Display Label’ field
- Check/Un check the Attributes (Visible, Next Line ) to customize how to render this component in the End-User app.
- Edit the code in the code-editor window. You can choose either ‘Class Component’ or ‘Functional Component’ from the dropdown.
- Press the Play button and your component gets published.
Log on to the End User App and you can see your created Widgets there.
Next Steps:
