Create/Configure/ Import new Swift App
Login to Swift App Design Studio
Login in to the App Design Studio using your Swift admin account:

Create new Swift Application
Click on the Applications tab from the side bar. This will open up the app designer page.

- Press the + button
- Enter the Name of your App & Description
- press “Submit”
Configure new Swift Application
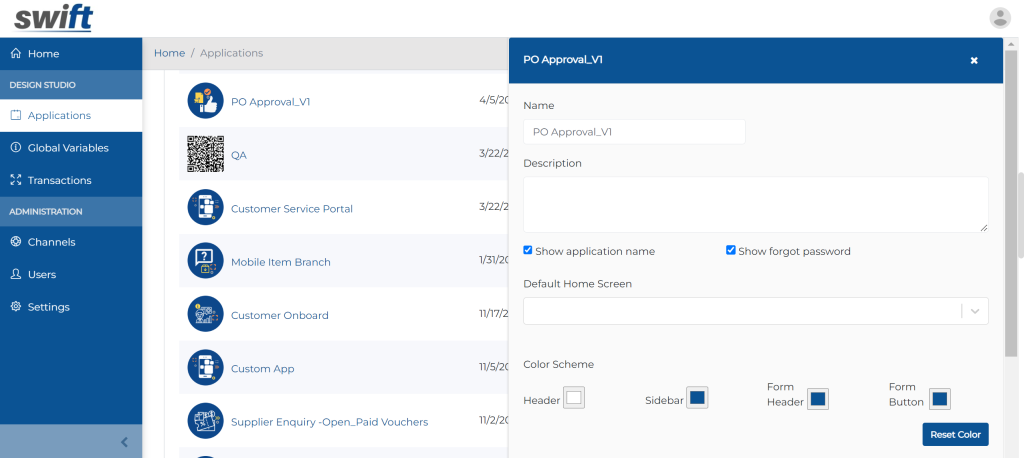
Click “Configure” icon in the Actions Column against the application you want to configure:

- Set the Application Description
- Set default home screen for Swift end user app
- Set color scheme
- Select the Application Logo
- Press Submit

Import New Swift App
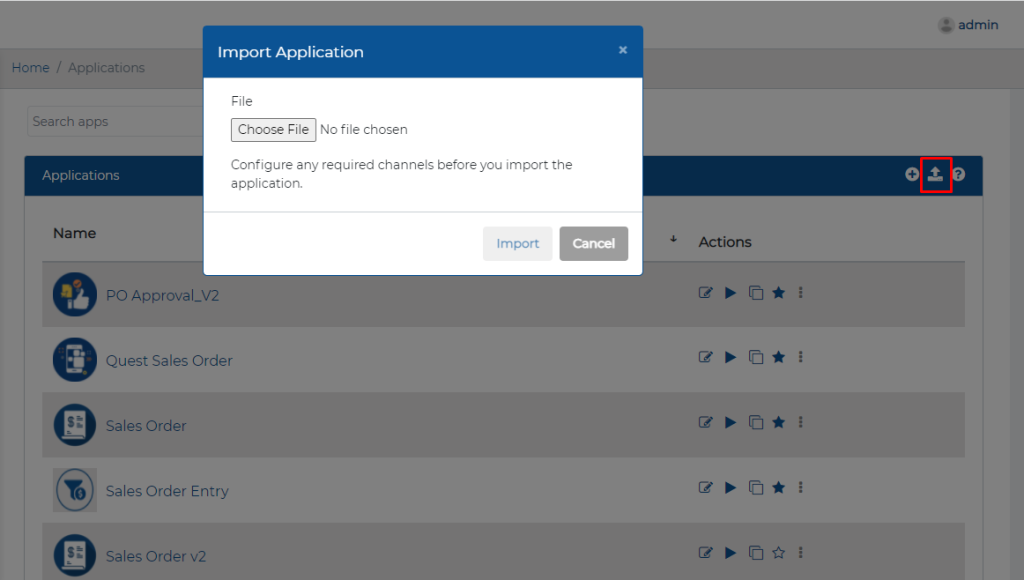
- Select a file from the local directory
- Press Import
Multi Language Support Feature in Swift Applications
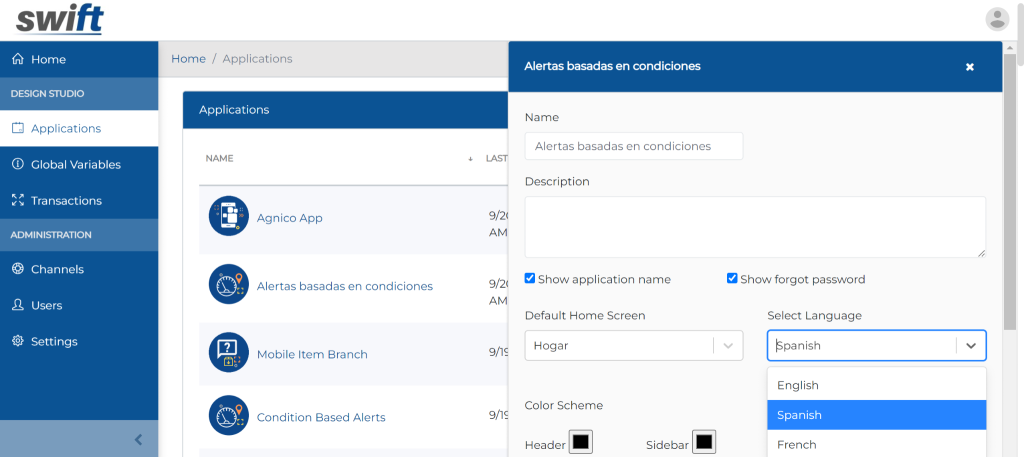
Users can select the language of any application. Through the end-user languages drop-down list, app designers have the option of changing the application’s language. The Swift platform allows for the localization of apps using this functionality.
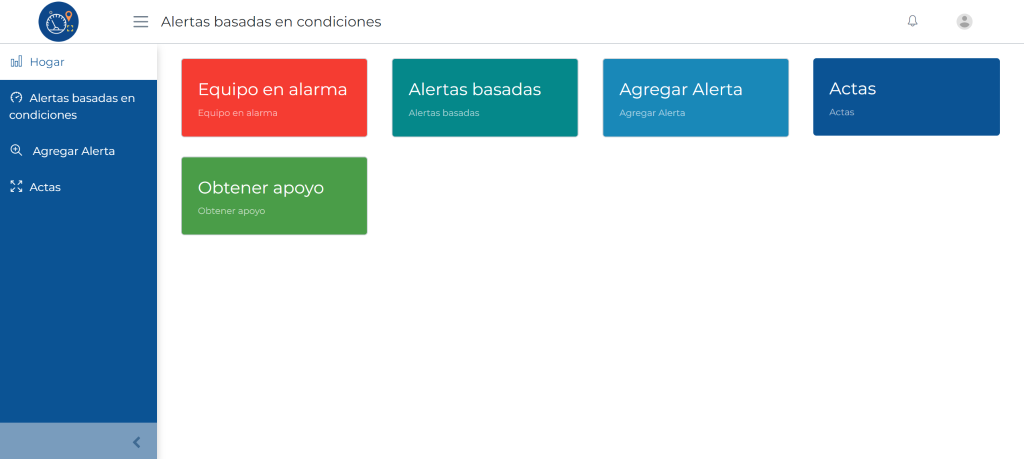
Simply click Edit Application from the end user interface. A drop-down will appear where you can choose Select Language. The language of your preference is then available for selection.
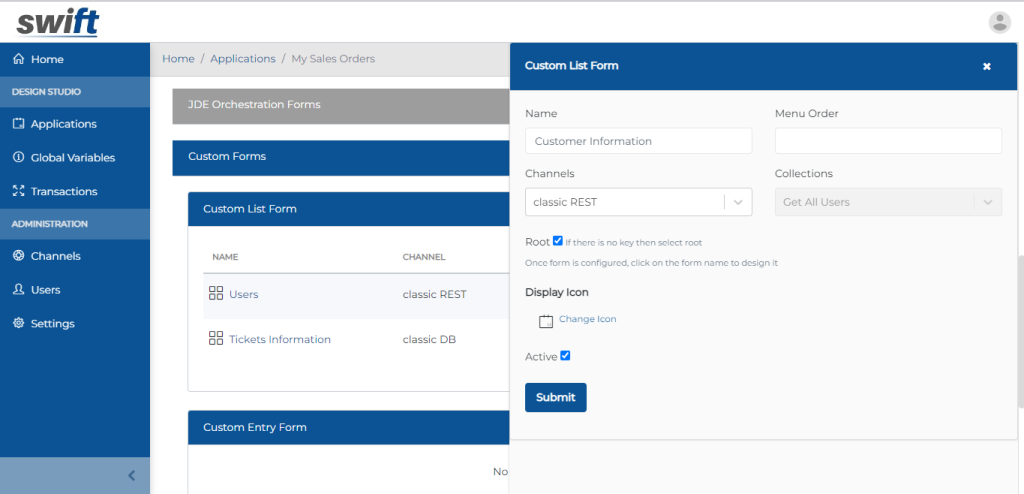
Extensive REST Support at Root level
Users can fetch data from a Rest Channel without using the keys on a root level. Simply choose any Rest Channel in the custom list form, and click on the Root checkbox.
